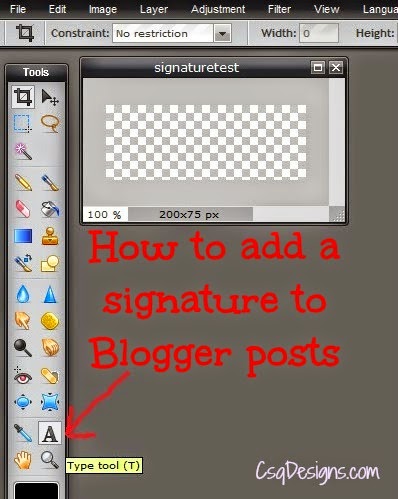
For 3 days, THREE, I looked up every article, tutorial, and how-to I could find on how to add one of those fancy signatures to the bottom of my posts. I tried ALL of them. None of them worked in their entirety.
Some that I tried were total fails. How the writer was able to succeed at it, I’ll never know. Some of them were partial successes – Sometimes my image was there, but it just showed as a tiny box. Sometimes my image was there, but it wasn’t transparent like it was supposed to be, or it had an ugly shadow behind it.
I tried editing HTML and adding CSS… I tried creating the image in Picasa, MyLiveSignature, and Pixlr… I tried getting from image from Flickr, Picasa, Photobucket… I tried HTML and direct links…
I thought that surely I’m not the only one who has wondered how to add a signature, or even tried and failed, so here I’ll share with you what worked for me and hope to goodness that it works for you also.
#1 Create your image
I created my image on pixlr.com, which is a free site. Hooray! Doesn’t require any downloading! Double hooray!! Across the top of the page, click “Pixlr Editor” then “create new image”.
You’ll see a window like this pop up.
If you’re wanting more than one word and want different fonts/sizes/colors for each, you’ll need to click the text tool for each separately.
and hit Ctrl V to paste the HTML code into that box. You can even add a couple of
breaks after the code to leave a little space after your signature too. Then click “Save Settings” at the top.
.post-body img, .post-body .tr-caption-container, .Profile img, .Image img,.BlogList .item-thumbnail img { padding: none !important; border: none !important; background: none !important; -moz-box-shadow: 0px 0px 0px transparent !important; -webkit-box-shadow: 0px 0px 0px transparent !important; box-shadow: 0px 0px 0px transparent !important;}
And now you should see your signature on each new post! This tutorial will only add your signature to NEW blog posts. It seems there is a way to add it to old posts by editing the HTML, but those tutorials didn’t work for me, so I’m just going to stick with this method.
I hope this tutorial has helped answer some of your questions AND that it works for you.
If you have any questions or additional comments, please let me know in the comment section below.
Thanks for checking out my tutorial!!!


Thank you, Rebecca! 🙂
LikeLike
Thanks, Darla!
LikeLike
I found this plugin that may help you insert it into wordpress. The other instructions should be the same. Let me know if it works! 🙂 https://wordpress.org/plugins/wp-post-signature/
LikeLike
Thank you, Carmen! I hope it works out for you too! 🙂
LikeLike
Casey…that is a beautiful signature and a really great post. I am bookmarking it so that I can send friends here to follow your process. #sscnet
LikeLike
Great tutorial Casey! Such detail, great job!
LikeLike
Now tell me how to post in wordpress! ARGGGG
I have tried a ton of diff ways with no success!!!
Great info though I will check out PIXL
LikeLike
I'm so glad you were able to figure it out! I'm going to re-do my signature based on your instructions. Thanks so much for doing the hard work!
LikeLike